
File Encryption with 7-Zip
7-Zip can help you encrypt files by adding them to an archive file format and protecting the archive with a password.
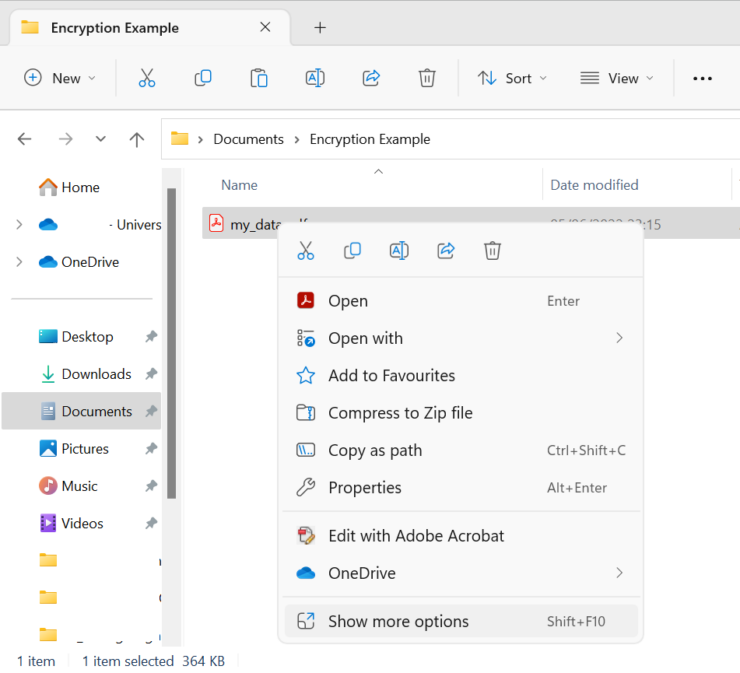
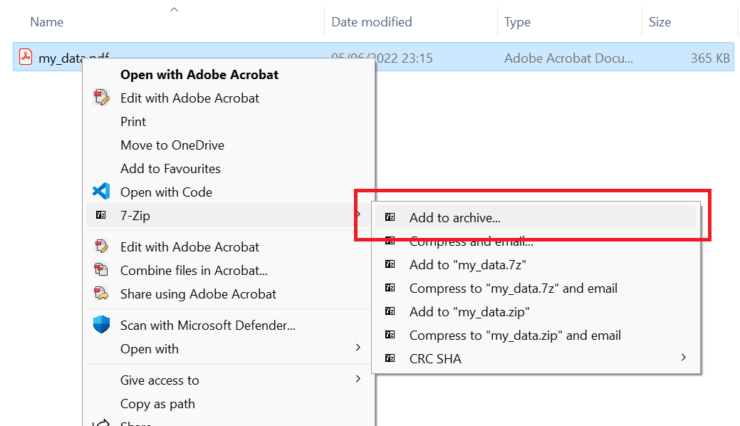
With 7-Zip already installed, you should have the 7-Zip context menu when you right click on files in the File Explorer. Right click on the file(s) you want to encrypt, navigate to the 7-Zip menu, and click add to archive.
Windows 11 has changes the right click menu, in order to see the 7-Zip menu at the time of writing requires clicking on the “Show more options” button at the bottom.
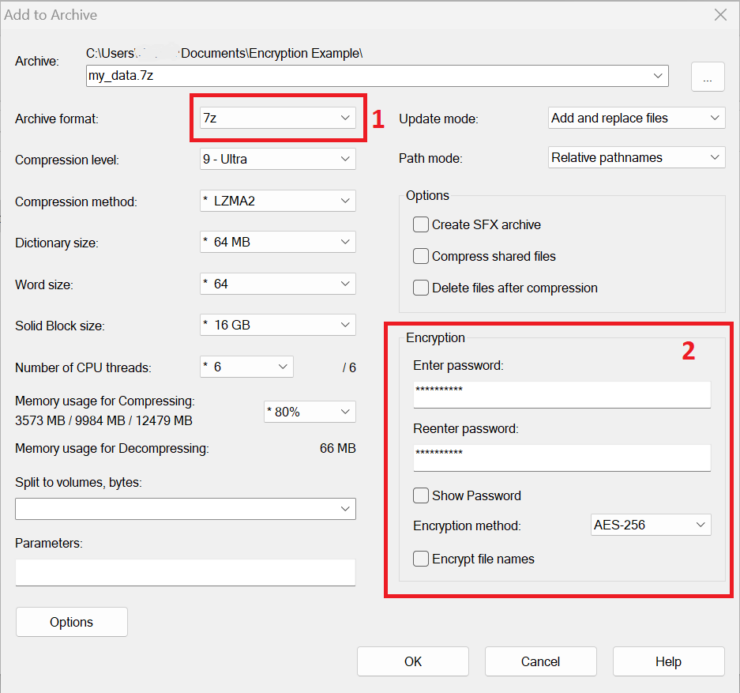
Next, the 7-Zip archive creation window will appear. From here, you can change compression options, but to encrypt the archive, you need to set a password and choose an encryption scheme in the bottom right (2).
You can only encrypt .7z or .zip archives (1), and you should select AES-256 encryption (at the time of writing). Passwords should be at least 12 characters that include letters, numbers, and symbols (at the time of writing).
After you have set the password, click “OK” to start archiving the file, and then you will have a password protected and encrypted archive.